5 Tips For Using Body Fillers After Auto Body Training
For those fresh out of auto body training, mastering the art of applying body filler is essential for achieving professional and seamless repairs. Body fillers are putty-like substances used in auto body repair to fill dents, scratches, and imperfections. They come in two parts (resin and hardener) and require proper mixing and application for a smooth, long-lasting repair that creates a foundation for painting.
When used correctly, body fillers can be the auto body technician’s best ally in repairing dents, scratches, and imperfections on vehicles. Here are five tips to help you use body fillers effectively, ensuring your work looks great and also stands the test of time.
1. Auto Body Training Emphasizes Proper Surface Preparation
Before you even open a can of body filler, the success of your repair work begins with thorough surface preparation. The area to be filled must be clean, dry, and free of rust, paint, and any other contaminants.
Per your auto body training, Remove all dirt, grease, and debris from the damaged area using a degreaser and a scuff pad. Cleanliness is key for a strong bond between the filler and the metal. Sanding the area with coarse-grit sandpaper (around 80 grit) creates a rough surface that allows the filler to adhere better.
Remember, body filler does not stick well to smooth surfaces, so proper sanding is crucial. Wipe down the area with a degreaser or solvent-based cleaner to remove any residual dust or oils that could interfere with adhesion.
2. Mix the Filler and Hardener Correctly
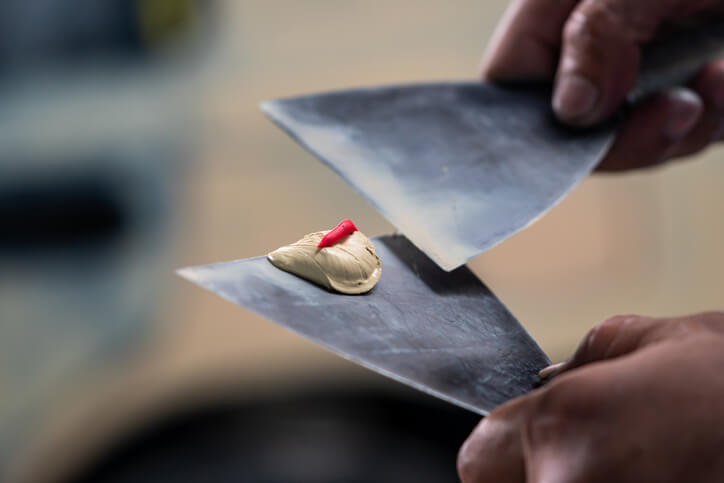
Body filler comes with a hardener to be mixed in the correct proportion for the filler to cure appropriately. Too much hardener and the filler will dry too quickly, making it challenging to work with; too little, the filler may not harden adequately. Follow the manufacturer’s instructions carefully when mixing.
Generally, a pea-sized drop of hardener is sufficient for a golf ball-sized amount. Using a plastic spreader, mix the two components to a uniform color on a clean mixing board. Avoid using cardboard, as it can absorb the resin and alter the mix’s properties.
Body fillers have a limited working time, also known as pot life, once mixed. Be mindful of this timeframe and only mix the amount you plan to use within that specific window.
3. Apply in Thin Layers
Resist the temptation to fill deep dents with one thick layer of filler. Thick applications are prone to cracking and may not cure evenly. Instead, apply the filler in thin, consecutive layers, allowing each layer to cure before applying the next.
This technique prevents cracking and reduces the amount of sanding required later on. For deeper repairs, consider using a glass fiber-reinforced filler for the first layer to provide extra strength, followed by standard filler for the final layers.
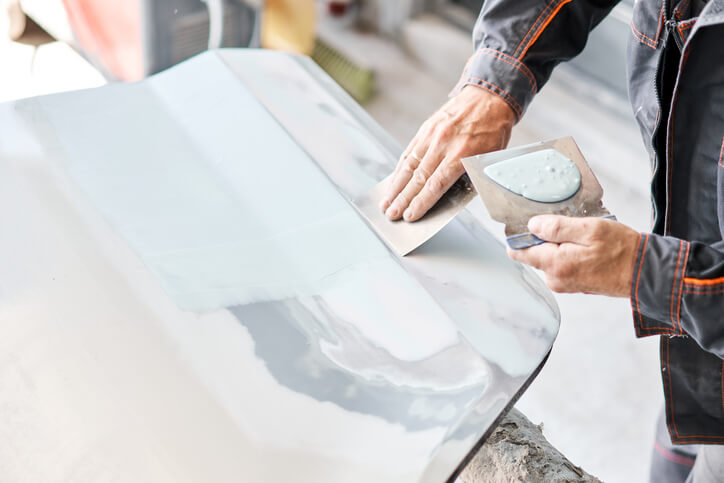
4. Master the Art of Sanding
Sanding is where the magic happens in achieving a smooth, flawless finish. As demonstrated in the auto body courses you took, start with coarser grit sandpaper (around 80 grit) to shape the filler and remove the excess, then progressively move to finer grits (up to 220 or 320 grit) to smooth the surface.
Always sand in cross-hatching patterns to avoid creating grooves or low spots. The goal is to feather the edges of the filler smoothly into the surrounding paintwork, making the repair area indistinguishable from the original surface.
5. Don’t Skip the Primer
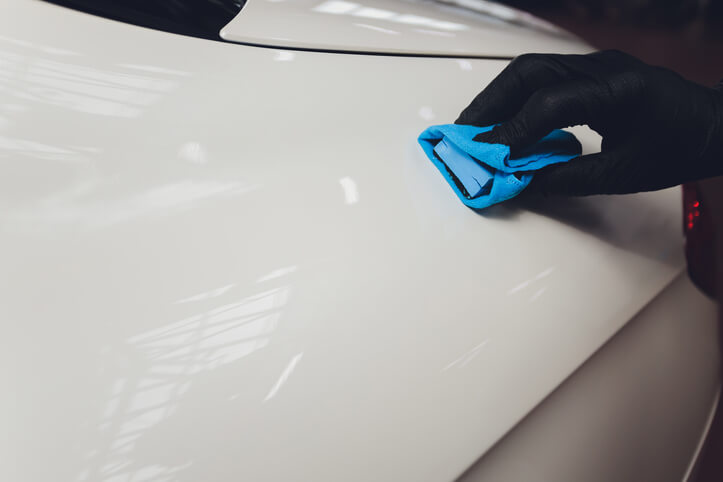
After sanding, the repaired area must be primed before painting. Primer serves several purposes: it helps the paint adhere to the surface, fills any minor scratches left by sanding, and ensures a uniform color when painted.
Apply the primer in light, even coats, allowing it to dry fully between applications. Sand the primer with fine-grit sandpaper (around 600 grit) to achieve a perfectly smooth surface ready for painting.
Are you interested in an auto body career?
Contact CATI for more information.
